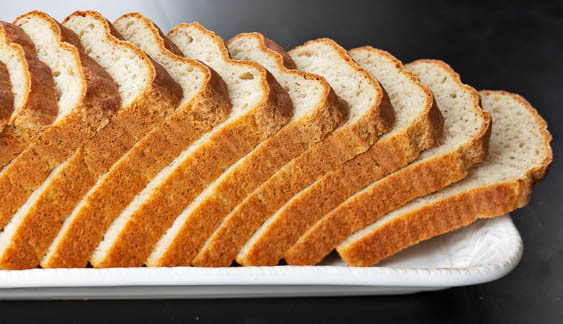
Gluten-Free Pain de Mie
introduction
“Gluten-free” may be everywhere, but gluten-free baked goods rarely qualify as the greatest thing since sliced bread. We wanted this gluten-free loaf to carry the flavor and mouthfeel of a true pain de mie—supple, buttery, resilient. Could such an effort be achieved with Anson Mills fresh-milled gluten-free blend of bennecake, oat, and rice flours alone? Uh, no. Gluten-free grains can be coaxed into breadform only so far before needing an assist from other ingredients that mimic the strength and extensibility gluten provides. Nearly every commercial gluten-free flour blend contains potato, tapioca, and corn starches, plus xanthan gum. We, too, enlisted help from this quartet of ingredients. We also utilized the natural gelling properties of chia seeds by adding them (ground-up) to aid in binding the structurally weak blend of flour and starches.
In effect, this is a batter bread—mixed and handled like a quick bread rather than a traditional leavened loaf. With no shaping demands, it moves easily from mixer to baked bread in a few hours. Once baked, it mimics very closely the characteristics of a soft wheat sandwich bread.
Baking Notes
This recipe is easy, but it does expect your full attention. Source the correct pan. The soft dough needs support from a deep, straight-sided Pullman loaf pan. Weigh and organize mise en place items before beginning to bake. If your room is warm, the dough may proof rather quickly, and you can’t push a finger into it to tell if it’s ready to bake. The height of the dough relative to the top of the loaf pan is a reliable indicator.
Once in the oven, the top surface of this bread becomes firm and brown before the interior of the loaf is done. Give the bread a full hour’s time in the oven no matter what its internal temperature indicates, and if it begins to brown too deeply, lay a sheet of foil on top.
equipment mise en place
For this recipe, you will need a digital kitchen scale, a small saucepan, a spice grinder, a 1-quart liquid measuring cup or medium bowl, a whisk, a stand mixer with the flat beater attachment, a silicone spatula, a 9 by 4 by 4-inch Pullman loaf pan, a plastic scraper, a small offset spatula, and a wire rack.
-
-
70grams unsalted butter
-
25grams raw honey
-
7grams chia seeds
-
190grams spring or filtered water
-
290grams whole milk
-
140grams beaten eggs, room temperature
-
225grams Anson Mills Gluten Free Flour Blend, room temperature, plus additional for dusting the pan, if needed
-
130grams potato starch
-
90grams cornstarch
-
50grams tapioca starch
-
12grams fine sea salt
-
8grams instant yeast
-
5grams xanthan gum
-
-
In a small saucepan, combine the butter and honey. Set the pan over medium and warm the mixture, stirring to combine, until the butter melts; set aside off heat. In a spice grinder, pulse the chia seeds to a coarse meal. Turn the ground chia into a 1-quart glass measuring cup or medium bowl, then whisk in the water and let stand for 5 minutes. Whisk in the milk and eggs; set aside.
-
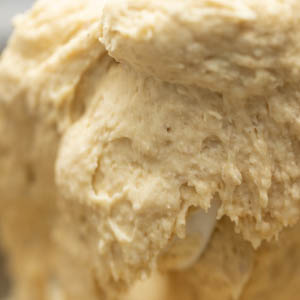
In the bowl of a stand mixer, whisk together the gluten free flour blend, potato starch, cornstarch, tapioca starch, salt, yeast, and xanthan gum. Attach the bowl and flat-beater to the mixer. With the mixer running on low speed, pour in the milk-chia mixture in a steady stream, making sure to scrape out the seeds that have settled on the bottom. With the mixer still running, pour in the butter-honey mixture, then continue to mix until the ingredients are well combined and evenly moistened, about 1 minute. Scrape down the bowl with a silicone spatula. The batter will be stout and sticky (fig. 2.1).
-
Detach the mixer bowl and scrape the bottom and sides, making sure it is well combined. With the spatula, push the batter into a mass at the bottom. Cover the bowl and set aside at room temperature for 1 hour.
-
Spray a 9 by 4 by 4-inch Pullman loaf pan with nonstick cooking spray; if the pan is not nonstick, dust it with gluten free flour blend, rotate for full coverage, then tap out the excess flour.
-
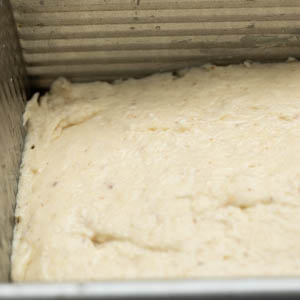
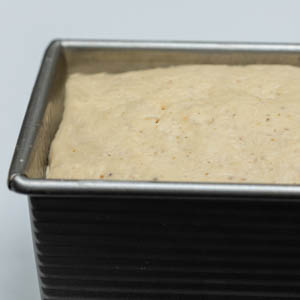
After the batter has risen for 1 hour, scrape it into the prepared loaf pan. Spray a plastic scraper with nonstick cooking spray and use it to scrape the batter into the pan, patting it down to knock out any air pockets, then use a small offset spatula moistened with water to smooth the surface into an even layer (fig. 5.1). Spray a sheet of plastic wrap with nonstick spray and lay it over the pan. Let rise until the batter is just shy of the rim of the pan (fig. 5.2), about 1 hour.
-
About 30 minutes into rising, adjust an oven rack to the lower-middle position and heat the oven to 400 degrees.
-
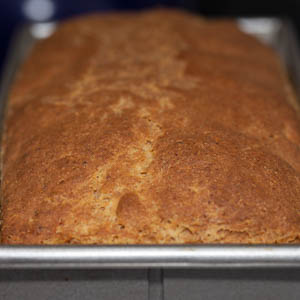
When the batter is properly risen, remove the plastic wrap and slide the pan onto the center of the oven rack. Immediately lower the oven temperature to 375 degrees and bake for 1 hour (fig. 7.1).
-
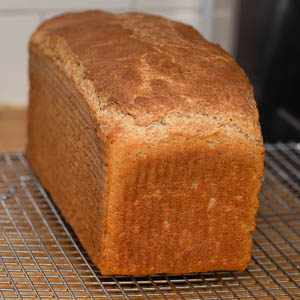
Remove the pan from the oven and invert the loaf onto a wire rack (fig 8.1). Turn it upright and let it cool for at least 1 hour. For thinner, more uniform slices, let the loaf cool for several hours before slicing.
-
-
2.1
-
-
-
5.1
-
5.2
-
-
-
7.1
-
-
-
8.1
-